HOW TO MAKE A SIGIL || Witchcraft 101
What is a Sigil?
A sigil is a symbol with a mystical or magical meaning. The term sigil derives from the Latin sigillum, meaning "seal" and it is the root of many other English words such as “signature,” “sign,” and “signal.”
Historically the term sigil referred to a type of pictorial signature of an angel, daemon, or spirit. For example, The Lesser Key of Solomon, contains the sigils for the princes in the hierarchy of hell. These sigils were believed to be a representation of the true name of the spirit and thus granted the magical practitioner some control over the being.
Most contemporary sigil crafting is a bit different so today I'll be showing you how to make a chaos magic sigil. A chaos magic sigil is different from these historic sigils because we’re not calling upon any particular spirit. Instead we are using a personal intention or goal to formulate and charge a custom symbol. Like many varieties of spellwork the intention setting is crucial and crafting a sigil begins by coming up with a sentence or phrase which best encapsulates what we’d like to achieve.
So why do we go through the trouble of creating a sigil and not just write your intention as a sentence on a piece of paper? Well we can get some guidance from Ray Sherwin, one of the founders of Chaos magic. He stated “The magician acknowledges a desire, he lists the appropriate symbols and arranges them into an easily visualized glyph. Using any of the gnostic techniques he reifies the sigil and then, by force of will, hurls it into his subconscious from where the sigil can begin to work unencumbered by desire.”
So the reason we transform the intention statement into a symbol is so our subconscious reads it as opposed to our conscious mind. Something similar occurs with tarot. You could just have a simple note card that lists the meanings of each card. But then we are using our conscious mind to read the words and not really tapping into our subconscious. By using images and symbolism, it’s easier to move beyond our conscious mind and tap into something deeper and intuitive.
How to Make a Sigil?
The sigil making process is composed of two phases: construction and charging. In the first part, the sigil is drawn and created as a physical object. In the second part, the sigil is given energy or “charged” and it becomes more than a simple drawing.
Step 1: Choose your sigil type
Sigils can be destructible, temporary, or permanent. How you create and charge the sigil may change based on which type you'd like to create.
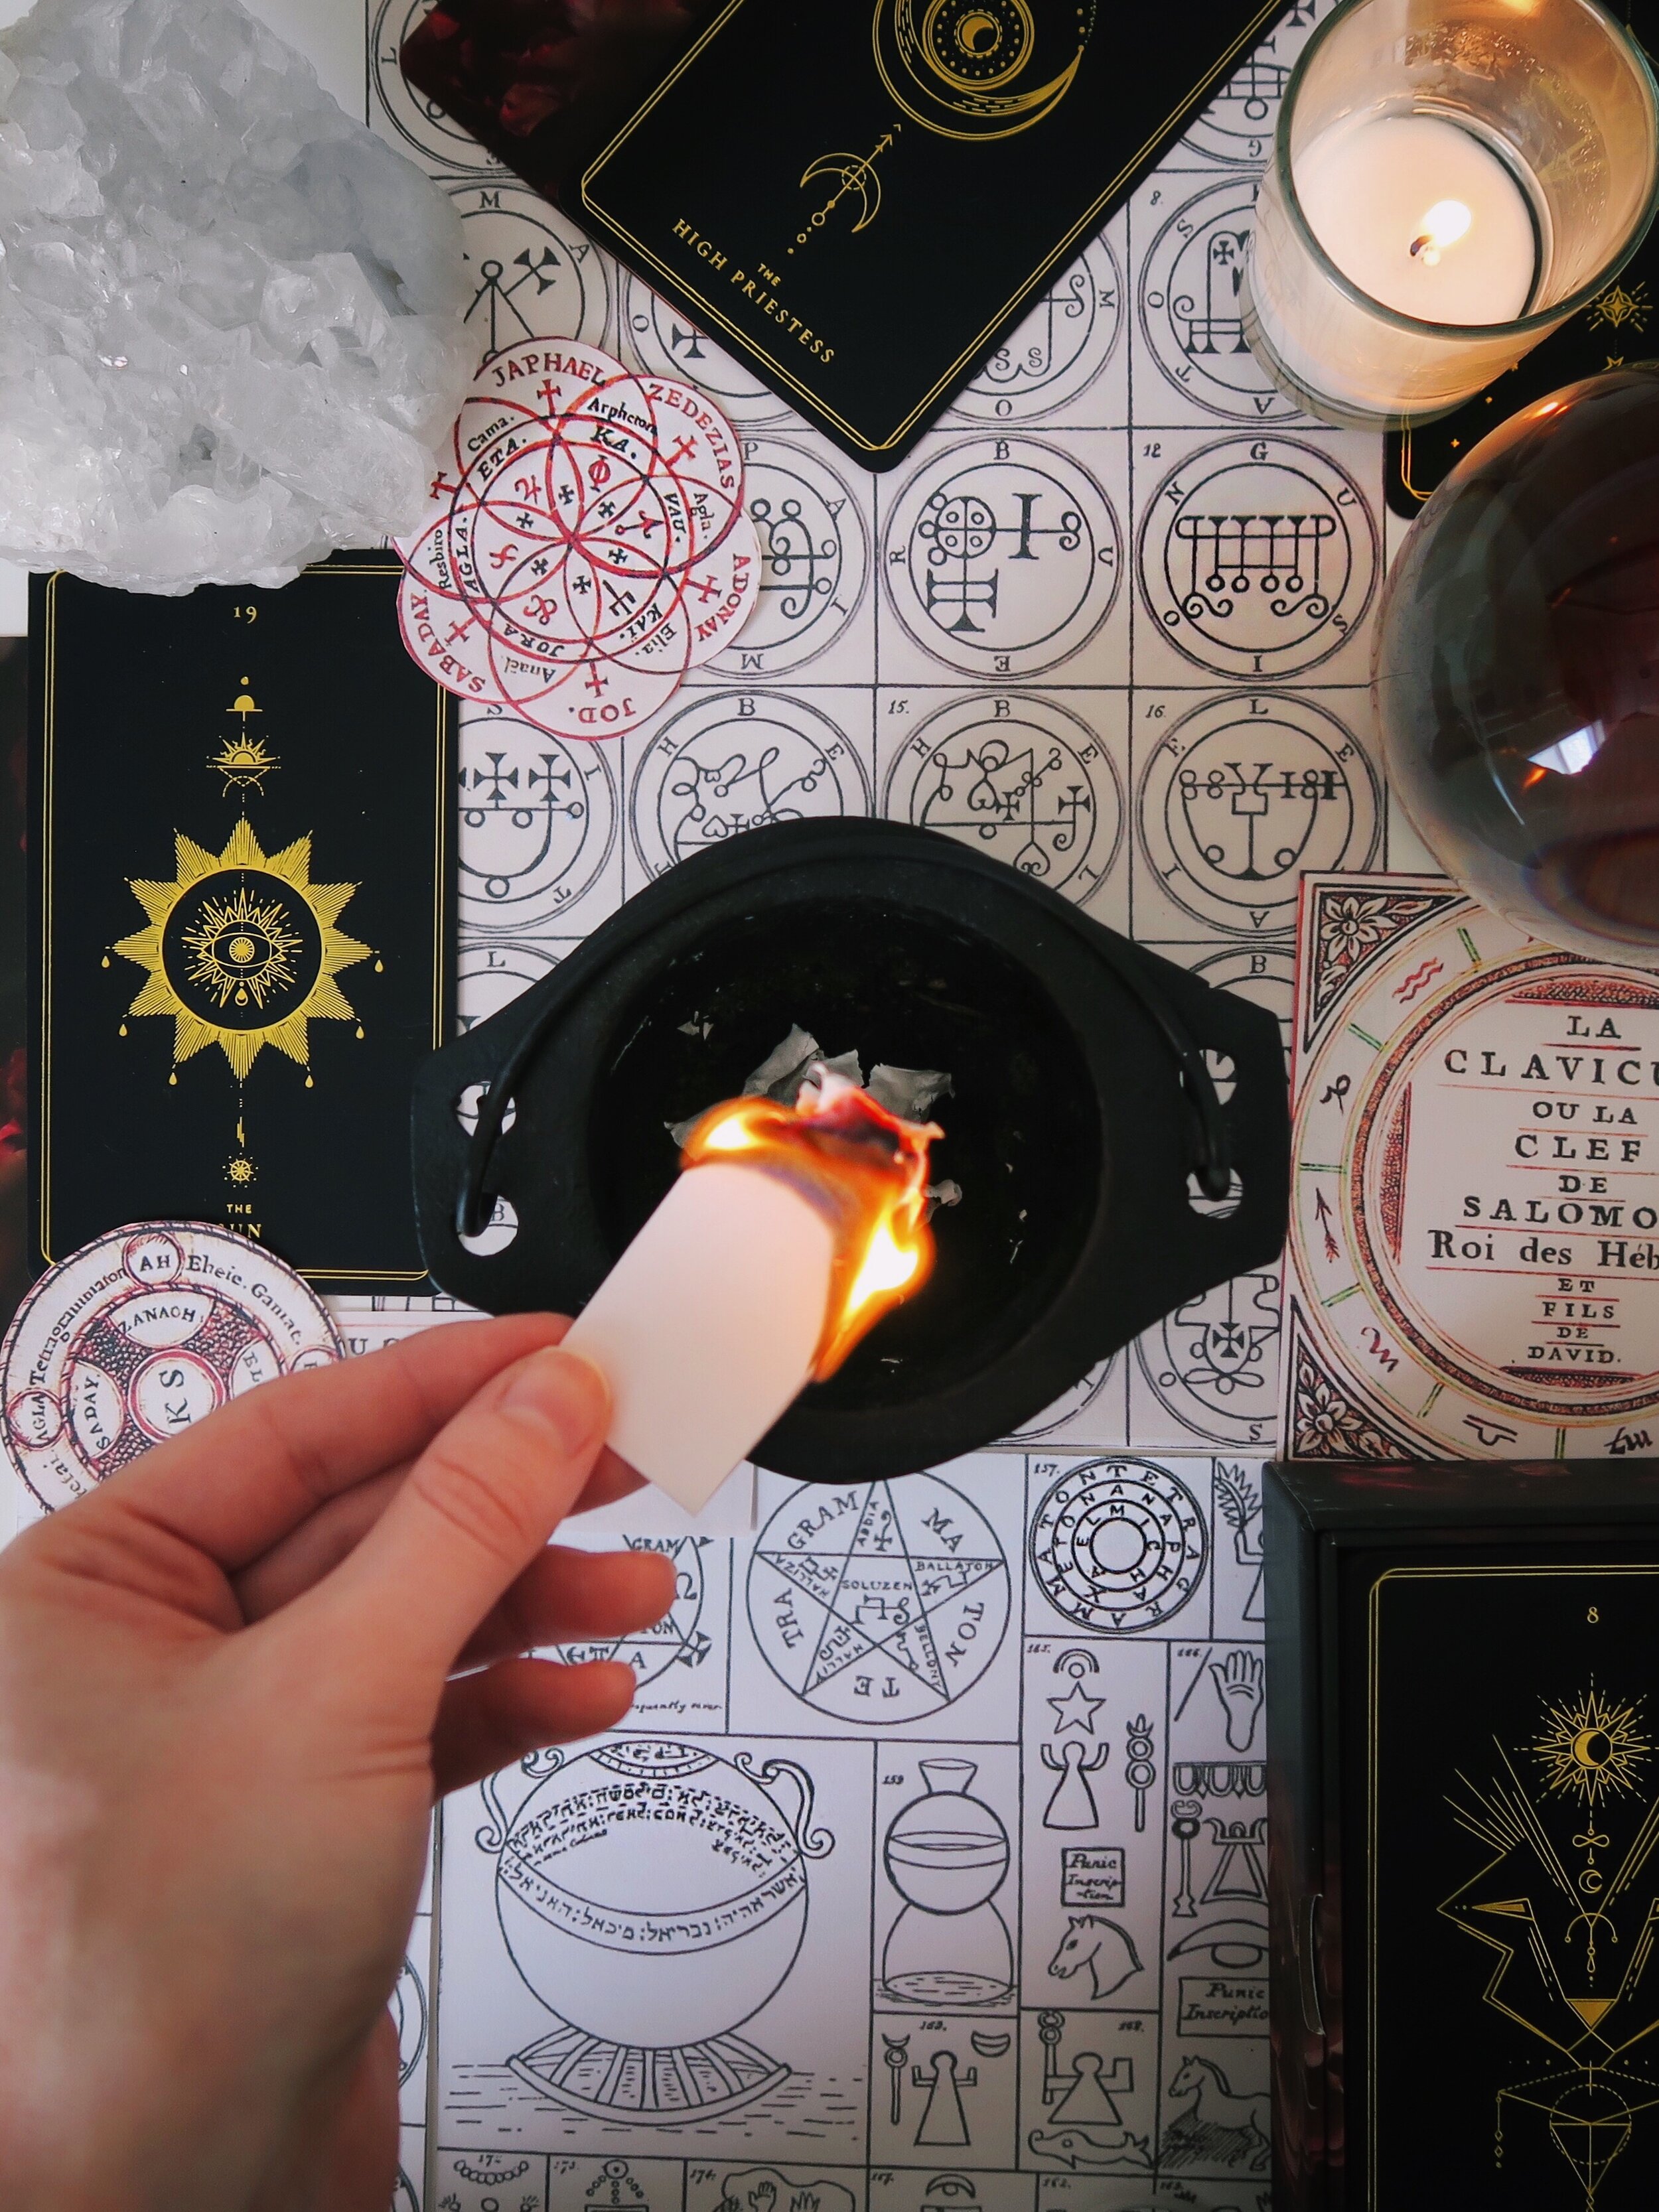
Destructible sigils are activated by being destroyed. The act of destroying is what creates the burst of energy giving the sigil its power. This is usually done by writing your sigil on a piece of paper and then setting it on fire though you could also carve the sigil onto food and then consume it.
Temporary sigils are sigils that will eventually disappear with time. These types of sigils could be drawn on your skin with a marker or carved into a candle which will eventually be melted.
Permanent sigils are made to last and are meant to be active for a long period of time. Occasionally permanent sigils are recharged to keep the energy active. Sigils like these could be made into pottery as an art piece or you could write a sigil on a piece of paper to be placed behind a painting or under a piece of furniture.
In the video below I show you how to make a really simple destructible sigil. To make the sigil you'll need paper, something to write with, a matchbook, and a fire safe container.
Step 2: Draw the Sigil
Begin by defining your desire in one sentence. It helps to use the present tense “I am” vs “I will be.” Also, If your sigil focuses on one thing, it will have a better chance of succeeding so try not to be too broad in your intention setting.
Next, write your intention down on a piece of paper. For my example I’m going to use the intention “I am relaxed.” With the whole quarantine thing right now, I’ve definitely been experiencing more anxiety than usual so hopefully this sigil will help to bring in a calming energy.
Next delete all the vowels and repeated letters in you intention and start composing the pieces of your remaining letters one at a time creating an abstract symbol. Try not to focus too much on what the drawing looks like, let your subconscious guide you in this part. We’ll be burning this sigil anyway so there's no need to worry about the attractiveness of the sigil.
Step 3: Charge the Sigil
There are many different ways to charge a sigil. Since I’m making a destructible sigil the act of burning will be what charges it. Though before I burn it I like to spend a few moments placing my hands on the sigil and visualizing a warm light flowing through my hands and onto the paper. You can also charge a sigil by dancing, chanting, or clapping so choose the method you feel fits best with the type of sigil you are creating.
When you burn the sigil, make sure you're in a safe and quiet space without distractions. After the sigil is completely burned it is now charged and you can dispose of the ashes. At this point the work is done you can record the ritual in your grimoire and then just let the magic do it’s work.
This post and video is just an introduction to sigil crafting so if you’d like to see more in-depth content on sigil crafting let me know in the comments.

